
 Nginx安装和基本使用
# Nginx安装和基本使用
# 前言
Nginx [engine x] 是一个高性能的HTTP和反向代理web服务器,同时也提供了IMAP/POP3/SMTP服务。
首次安装nginx之前,你需要配置nginx源,之后,你就可以从库中安装或更新nginx。
本文主要参考自官方文档:Nginx安装篇 (opens new window)
# 安装
# install via yum
1、安装yum-utils
sudo yum install yum-utils
1
2、设置yum官方源,创建文件 /etc/yum.repos.d/nginx.repo,内容如下:
[nginx-stable]
name=nginx stable repo
baseurl=http://nginx.org/packages/centos/$releasever/$basearch/
gpgcheck=1
enabled=1
gpgkey=https://nginx.org/keys/nginx_signing.key
module_hotfixes=true

[nginx-mainline]
name=nginx mainline repo
baseurl=http://nginx.org/packages/mainline/centos/$releasever/$basearch/
gpgcheck=1
enabled=0
gpgkey=https://nginx.org/keys/nginx_signing.key
module_hotfixes=true
1
2
3
4
5
6
7
8
9
10
11
12
13
14
15
2
3
4
5
6
7
8
9
10
11
12
13
14
15
3、(可选)默认情况下使用的是稳定版本,如果你想使用在线版本,可以执行下面的命令:
sudo yum-config-manager --enable nginx-mainline
1
4、安装nginx
sudo yum install nginx
1
安装过程中出现了
Peer's Certificate has expired.这样的错误. . . Total size: 997 k Installed size: 3.3 M Is this ok [y/d/N]: y Downloading packages: warning: /var/cache/yum/x86_64/7/nginx-stable/packages/nginx-1.22.0-1.el7.ngx.x86_64.rpm: Header V4 RSA/SHA256 Signature, key ID 7bd9bf62: NOKEY Retrieving key from https://nginx.org/keys/nginx_signing.key GPG key retrieval failed: [Errno 14] curl#60 - "Peer's Certificate has expired."1
2
3
4
5
6
7
8
9
10
11我们可以使用
rpm --import来解决rpm --import https://nginx.org/keys/nginx_signing.key1但是会出现导入失败,可能是网络问题 我们先进行下载再进行导入key,再次安装即可
wget https://nginx.org/keys/nginx_signing.key --no-check-certificate
rpm --import nginx_signing.key
1
2
5、查看nginx版本
[root@localhost webserver]# nginx -v
nginx version: nginx/1.22.0
1
2
2
# Nginx配置
拷贝nginx.conf
[root@localhost webserver]# cp /etc/nginx/nginx.conf /usr/local/webserver/nginx/conf/
[root@localhost webserver]# cp /etc/nginx/conf.d/default.conf /usr/local/webserver/nginx/conf/
1
2
2
配置nginx.conf内容如下:
user  nginx;
worker_processes  auto;

error_log /usr/local/webserver/nginx/logs/nginx_error.log crit; #日志位置和日志级别
pid /usr/local/webserver/nginx/nginx.pid;
#error_log  /var/log/nginx/error.log notice;
#pid        /var/run/nginx.pid;


events {
    worker_connections  1024;
}


http {
    include       /etc/nginx/mime.types;
    default_type  application/octet-stream;

    log_format  main  '$remote_addr - $remote_user [$time_local] "$request" '
                      '$status $body_bytes_sent "$http_referer" '
                      '"$http_user_agent" "$http_x_forwarded_for"';

    access_log  /usr/local/webserver/nginx/logs/access.log  main;

    sendfile        on;
    #tcp_nopush     on;

    keepalive_timeout  65;

    #gzip  on;

    include /usr/local/webserver/nginx/conf/default.conf;
    #include /etc/nginx/conf.d/*.conf;
}
1
2
3
4
5
6
7
8
9
10
11
12
13
14
15
16
17
18
19
20
21
22
23
24
25
26
27
28
29
30
31
32
33
34
2
3
4
5
6
7
8
9
10
11
12
13
14
15
16
17
18
19
20
21
22
23
24
25
26
27
28
29
30
31
32
33
34
检查配置文件nginx.conf的正确性命令:
[root@localhost nginx]# nginx -t -c /usr/local/webserver/nginx/conf/nginx.conf
nginx: the configuration file /usr/local/webserver/nginx/conf/nginx.conf syntax is ok
nginx: configuration file /usr/local/webserver/nginx/conf/nginx.conf test is successful
1
2
3
2
3
# Nginx启动
#启动nginx
nginx -c /usr/local/webserver/nginx/conf/nginx.conf

#查看防火墙端口
firewall-cmd --list-ports
#开启80端口
firewall-cmd --zone=public --add-port=80/tcp --permanent
#重新载入配置
firewall-cmd --reload
1
2
3
4
5
6
7
8
9
2
3
4
5
6
7
8
9
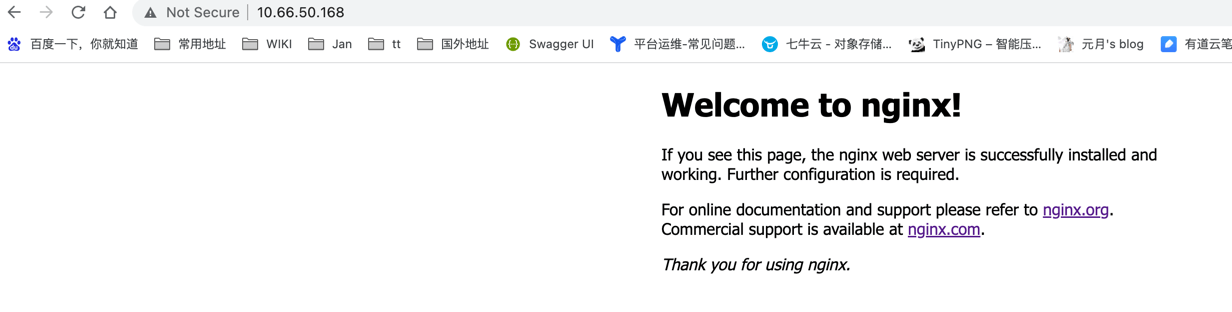
浏览器访问
# Nginx其它命令
以下是nginx的常用命令
nginx -c /usr/local/webserver/nginx/conf/nginx.conf -s reload            # 重新载入配置文件
nginx -c /usr/local/webserver/nginx/conf/nginx.conf -s reopen            # 重启 Nginx
nginx -c /usr/local/webserver/nginx/conf/nginx.conf -s stop              # 停止 Nginx
1
2
3
2
3